Maps are an essential tool for the military planner. For the attack on Hill 70, General Currie and his staff required accurate up-to-date maps. These would be vital not only for planning the attack, but also to plot enemy positions behind the lines so to be ready to direct artillery fire onto German counter-attacks, a vital objective of the battle for Hill 70.
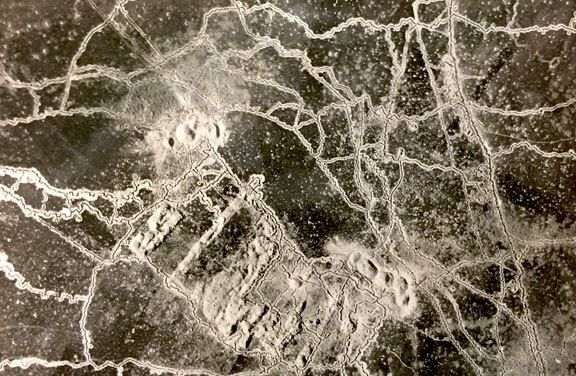
Aerial Map
The introduction of aircraft in WWI resulted in the development of aerial mapping, which was essential for the artillery to be able to range the guns accurately on identifiable, specific enemy targets such as enemy gun batteries and strong points. At Hill 70, the distinctive chalky soil resulted in white lines, delineating the Allied and German trenches on aerial photographs.
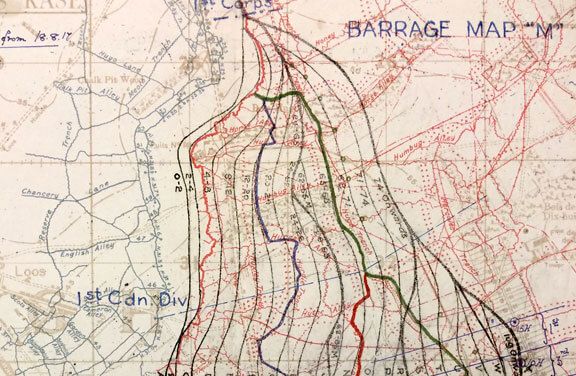
Creeping Barrage
First used by at the Battle of the Somme, a creeping barrage involved artillery fire moving forward in stages just ahead of the advancing infantry. This was employed with great results at Hill 70. For this an accurate Barrage Map was mandatory to coordinate artillery fire with the advance of the infantry.
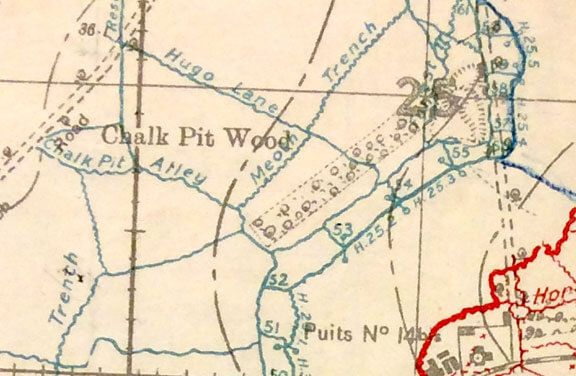
Trench Map
The positions of trenches, both German and Canadian, were superimposed on topographical maps for use in the attack on Hill 70.
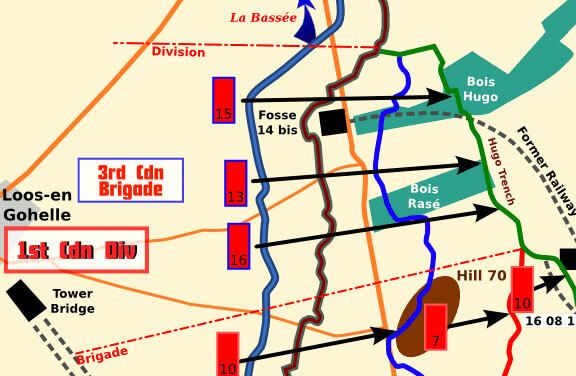
Hill 70 Map
This map shows the various elements of the Canadian Corps as they advanced from their lines on August 15th, 1917, their intermediate objectives, and their final objective, the Green Line, secured on August 16th, 1917.